
How to Organize a Pantry and Kitchen Cabinets
By Amber Swensen
As an Amazon Associate I earn from qualifying purchases. Product links in this post are affiliate links; using them costs you nothing extra. See all our favorite products.
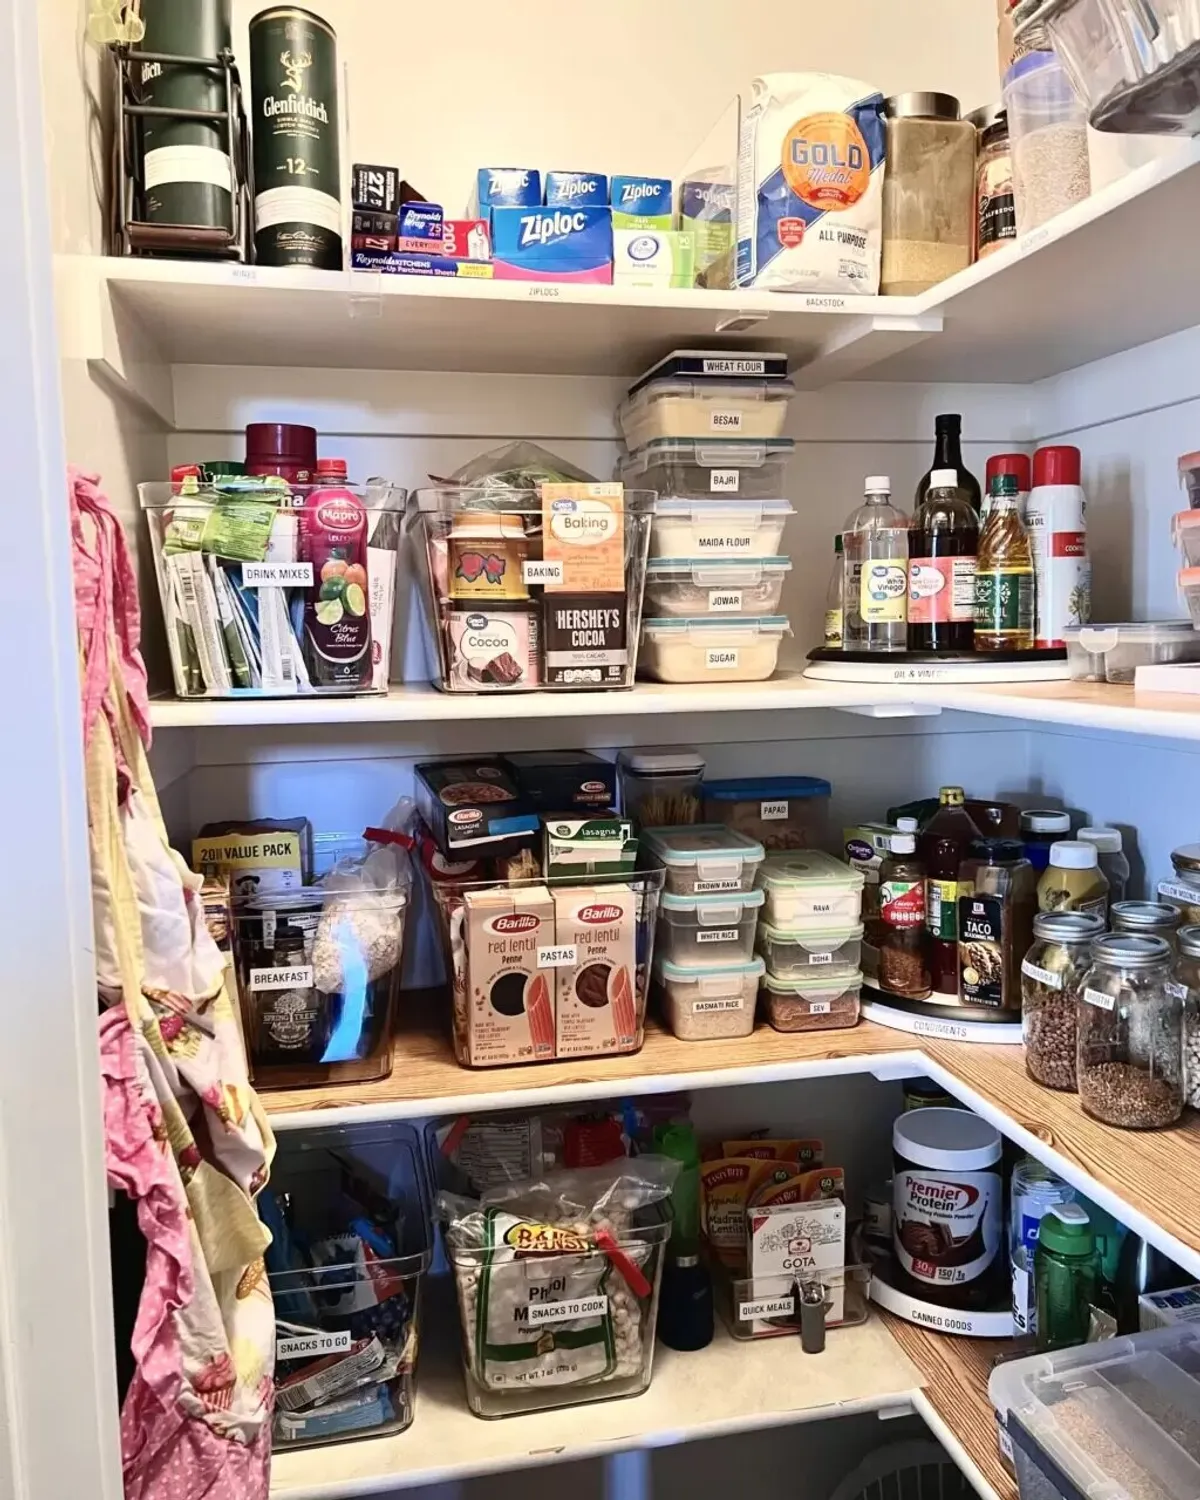
When you can see what’s in your pantry, you stop buying duplicates, food stops expiring in the back, and dinner gets easier. Pantry organization is one of the highest-return projects I do as a professional organizer, because your family uses the space every single day.
Here’s how to do it.
Step 1: Empty it and check dates
Take everything out. Check dates as you go and toss anything expired, stale or opened and forgotten. Donate unopened food you know you won’t eat. Wipe the shelves while they’re empty.
Step 2: Create zones
Group food the way your family uses it. Common zones:
- Breakfast (cereal, oatmeal, pancake mix)
- Baking (flour, sugar, chocolate chips, sprinkles)
- Pasta, rice and grains
- Canned goods and sauces
- Snacks (with a kids’ snack bin at their height, or out of reach if you’d rather)
- Lunch packing
- Backstock (extras of things you buy in bulk)
Put the zones you use every day at eye level. Heavy items and backstock go low, and rarely used items go up high.
Step 3: Decide what to decant
Clear containers show you at a glance what you have and what’s running low. But you don’t have to decant everything. Decant the things you use often and buy in bags, like flour, sugar, rice, cereal and snacks. Leave things in their original boxes when the box holds cooking directions you need.
Glass canisters look beautiful on a counter or open shelf for things like flour, sugar and coffee. Whatever you use, label each container. My labeling guide has tips.
Step 4: Use the height and the corners
- Spices: a tiered spice riser lets you see every jar instead of just the front row.
- Corners and deep cabinets: clear lazy Susans bring oils, sauces and vinegar to the front with one spin.
- Bins on shelves: open bins work like drawers, so you can pull a whole category out at once.
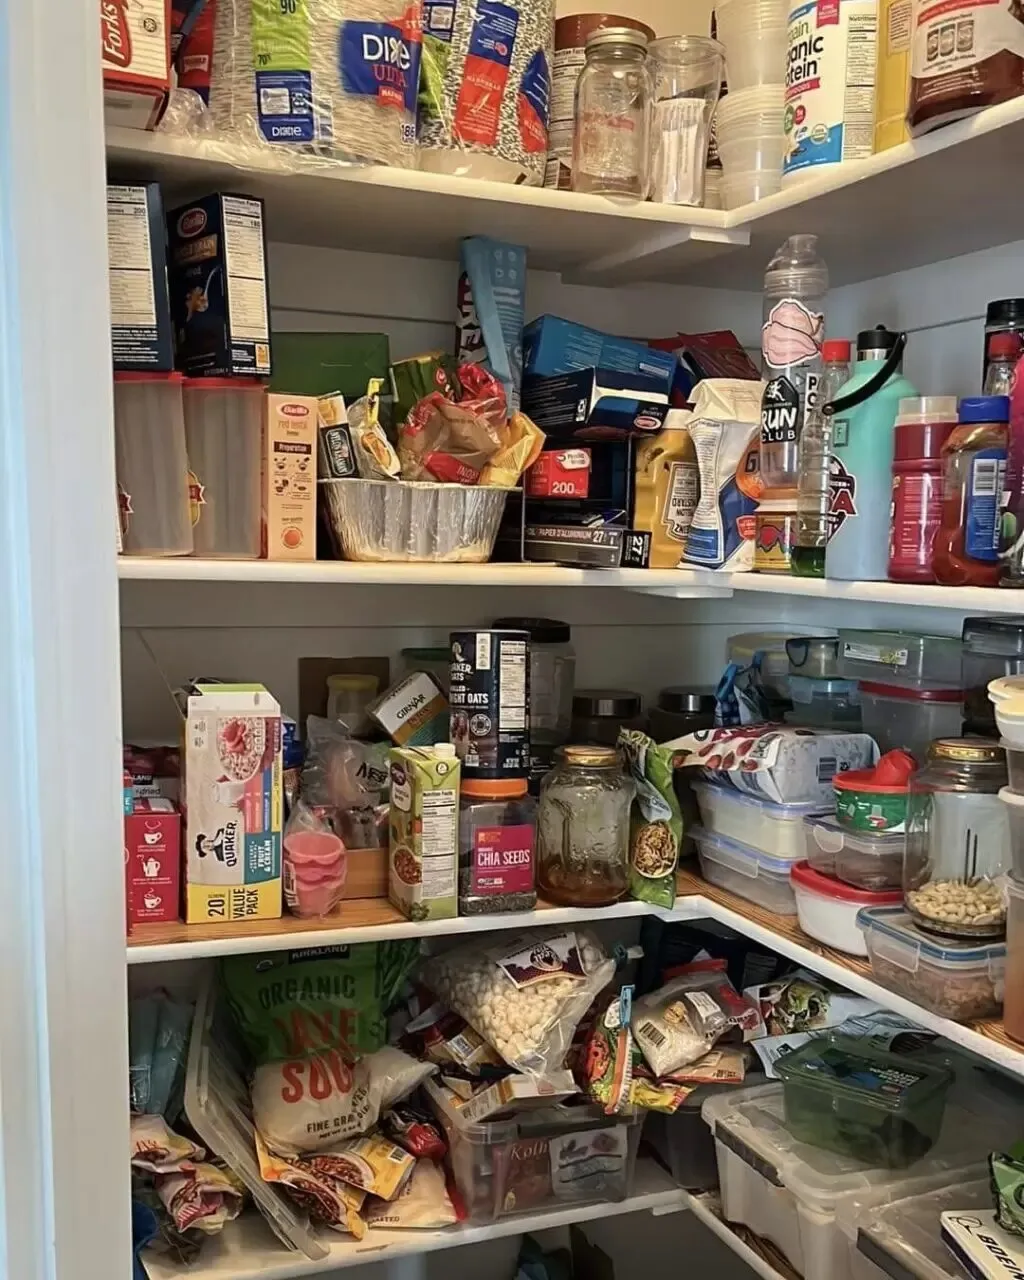
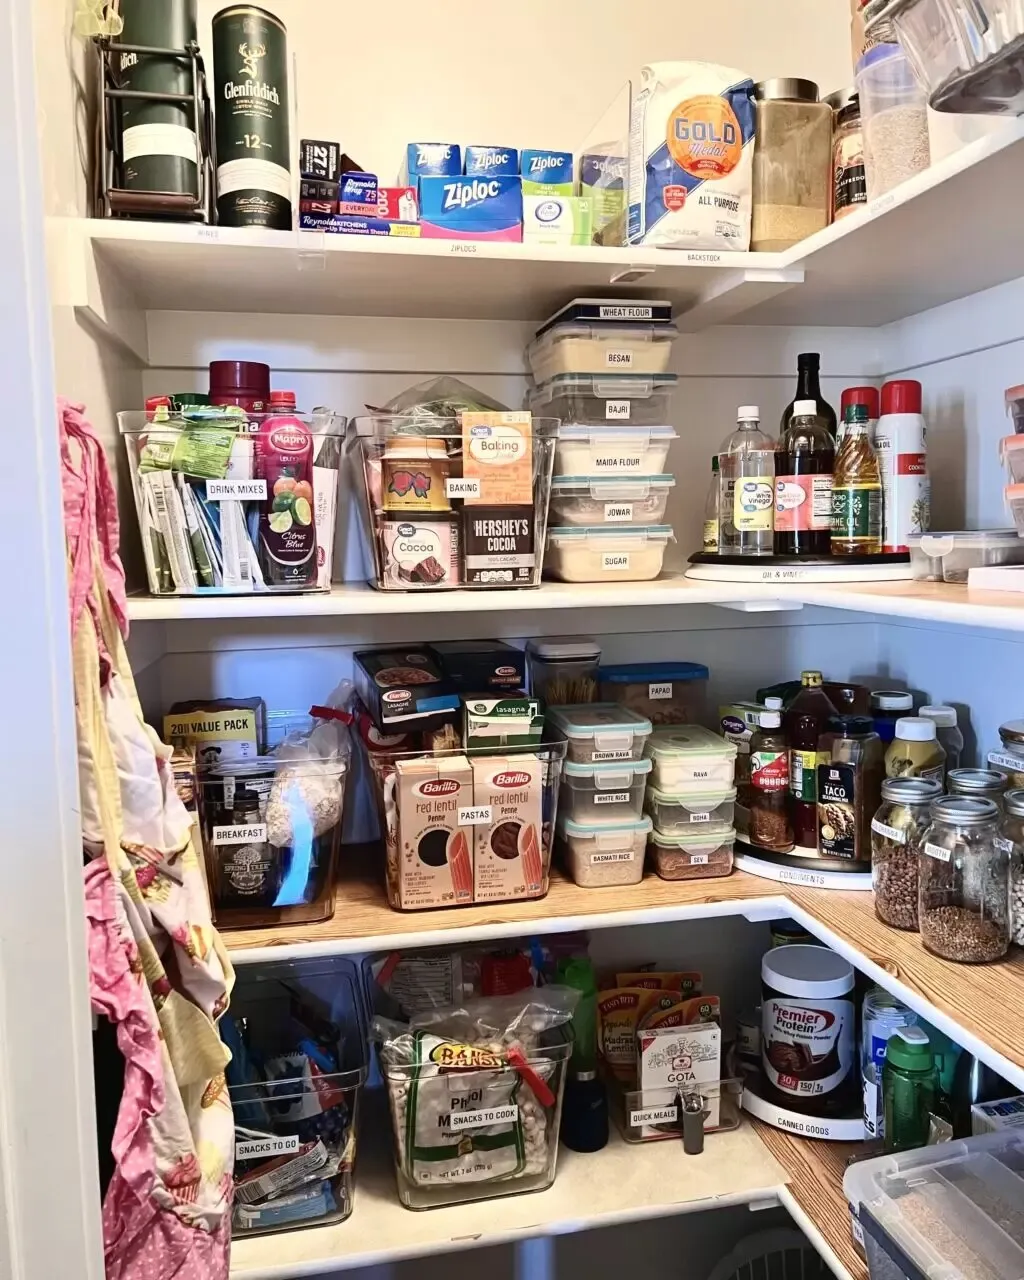
Step 5: Organize kitchen cabinets and drawers
Store things near where you use them: pots and pans by the stove, dishes and glasses by the dishwasher, food storage containers near where you pack lunches.
In drawers, an acrylic drawer organizer set keeps utensils and gadgets from sliding into a jumble. Let go of duplicate gadgets you never reach for.
And for the grocery bags that seem to multiply, a grocery bag holder keeps them contained in one spot.
Step 6: Set up your food storage room
Many Utah families keep a food storage room or longer-term food storage in the basement. The same rules apply on a bigger scale: group food by type, check dates as you go, and arrange the shelves so the oldest items get used first. Label the shelves as well as the bins so the whole family knows where things go back. Our basement and storage room page has more.
Step 7: Keep it up
- Once a week, before you shop, check what’s running low and pull older items forward.
- Every few months, check dates and wipe the shelves.
- When something doesn’t have a home, give it one or let it go.
Get help from a professional organizer in Utah
Orderly Nest Organizing’s professional organizers set up pantries, kitchens and food storage rooms for families across Salt Lake County, Northern Utah County and Southern Davis County. If there’s a lot to sort through first, our decluttering service helps too. Book a free consultation, or browse all of our favorite organizing products.